
No special artistic skills required and it's totally FREE! Well, as long as you own an iPad and a stylus.
Digital stickers add a little something extra when it comes to digital planning and if you want to get creative yourself rather buying, this tutorial will teach you how to create digital stickers in just a few simple steps.
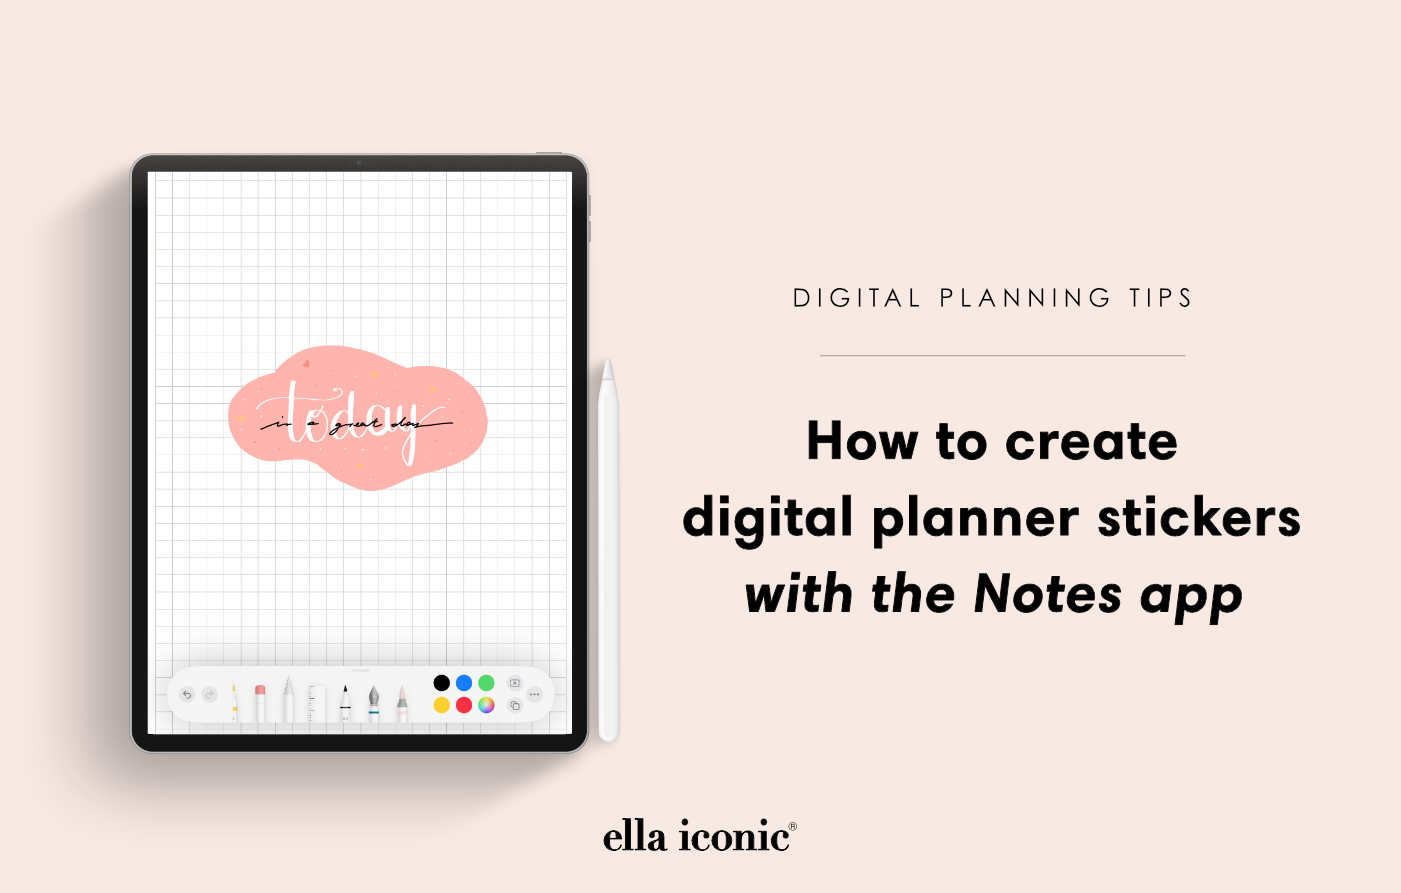
Step by step tutorial how to create your first digital stickers
Before we start, make sure your iPad is running on the latest software, iOS 16 being the minimum. We will start with a simple sticker design, a word 'today' which will be on a transparent background. But once you've learnt the basics, you can make these stickers a lot more elaborate and vibrant.
1. Open the Notes app on your iPad and select the new calligraphy pen
The pen tools are located at the bottom of the screen. Pick a colour of your choosing and draw a word 'today'.

2. Now tap on the 'select' tool pen icon and draw around your written word.
A simple circle will do, the app will automatically adjust the selection as shown below.

3. Tap on the selected area and once a selection of commands appear, then select Copy.

4. Open your digital planner in the GoodNotes app, activate the lasso tool, tap & hold anywhere on the screen and select Paste.

That's it! You've just made your first digital sticker! Now you can super creative by adding shapes, colour, shadows and more!
Here are some extra tips
• Next to the calligraphy pen you will also find a new watercolour pen - great if you wish to add a soft background or a shadow.
• To change a colour of a letter or a word, select it with the 'select' tool by drawing around it and then apply desired colour from the colour palette.
• To straighten a word/phrase select it and then tap on the screen. A list of commands will appear, click to 'Straighten'.

Happy creating!
But if you prefer already made stickers, then take a look through our collection of digital planners & stickers here.